How to use the sun(s)
This tutorial will walk you through the process of creating a map with working suns. You can download the reference map to see what the final result should look like. In this tutorial, I will describe three different methods for aiming. Once you are become accutomed to the aiming methods, you can use whichever method you find the easiest.
 To start, we must have a map. Open up your favorite map
editor and create a new map. Let's make a floor. Pick your favorite
floor texture and make a floor brush, 512 by 512. Surround it by walls
128 units high. Make sure that the walls all meet to make a square.
To start, we must have a map. Open up your favorite map
editor and create a new map. Let's make a floor. Pick your favorite
floor texture and make a floor brush, 512 by 512. Surround it by walls
128 units high. Make sure that the walls all meet to make a square.
 Now switch to the the sky texture and create brushes that go up another
128 units and seat against the outside of the walls. Cap it all off with
a ceiling. It is important to remember that you should not have any
sky brushes on the same plane as any of your other world brushes if
they are not blocked by another brush. If a sky brush and a world
brush are on the same plane and there is a brush blocking their
line of sight to each other, it is okay, but if there isn't a brush
blocking their line of sight, you may get unwanted results.
Now switch to the the sky texture and create brushes that go up another
128 units and seat against the outside of the walls. Cap it all off with
a ceiling. It is important to remember that you should not have any
sky brushes on the same plane as any of your other world brushes if
they are not blocked by another brush. If a sky brush and a world
brush are on the same plane and there is a brush blocking their
line of sight to each other, it is okay, but if there isn't a brush
blocking their line of sight, you may get unwanted results.
Select all of the sky faces that will be seen within the level and apply a light value of 50 (select the light flag and add a value of 50). The actual light value is not important as long as it is over a minimum value. Fifty is a good safe number.
 Next, pick a post texture and make four 64x64x256 posts, one
for each corner, 64 units from the walls. Place an player start in the
center of the level, and you are done with the map portion of the
tutorial.
Next, pick a post texture and make four 64x64x256 posts, one
for each corner, 64 units from the walls. Place an player start in the
center of the level, and you are done with the map portion of the
tutorial.
Now lets deal with the sun. The first definition method we will use is the angle definition. Although this may be difficult to understand at first, I find it to be the easiest way to aim a sun. Define your _sun_angle key as follows:
"_sun_angle" "315 -45"
See the tutorial on pitch and yaw for an explanation of the angles.
To define a brightness for the sun, we enter a _sun_light value.
_sun_light 400
Give the sun a color. We will be using really ugly colors for the purpose of this tutorial for purposes of clarity. Define a _sun_color value of 1 1 0 for a 100% yellow sun.
"_sun_color" "1 1 0"
Let us define an ambient shadow value. The ambient shadow can be defined in one of two ways. If you only define a single value ("_sun_ambient" "50"), the color of the shadow will be defined by an average of all of your suns. If you define three values, one for each color, then you will override the ambient color with the one you enter. If you use the second method, each value entered will be the intensity of the color.
"_sun_ambient" "10 10 10"
The above value overrides the default shadow color with a brightness of 50 red, 50 green, and 50 blue, resulting in a value of 50 white. Notice that, unlike the _color value, the _sun_ambient value is an absolute measurement of the light intensity. A value of 50 entered will return an absolute texture brightness of 50.
The first sun has been properly created. You may compile the map now to evaluate the results, or go on to the second sun.
For the second sun, we will use the conventional aiming method. Create a light entity. Add the keyvalue pair:
"target" "star"
The target's name is not important. It just needs to match the targetname of the info_null you are about to create. Create an info_null that is one grid unit left and one grid unit down from your light. If your light were at an origin of 64 64 64, and your grid is set to snap at 16 units, then you would place the info_null at 32 32 32. Set the info_null's targetname
"targetname" "star"
With that out of the way, it's back to the worldspawn we go. To define your second sun, we will use the _sun key. Since this is the second sun, we will substitute _sun with _sun2. You can substitute _sun2 _sun3 or _sun4 for any key with _sun in it except _sun_ambient.
"_sun2" "star"
The _sun and _sun_target keys do the same thing. The value that follows the _sun key is the targetname of the info_null.
We shall make this sun red with a brightness of 500
"_sun2_light" "500"
"_sun2_color" "1 0 0"
The second sun is created. Compile it or go on to the third method. Notice that in software mode, the shadows of the two suns do not behave completely logically. Since the colored light is translated into white light of the same intensity, the overlapping shadows will appear to be blended into a single highlight value.
The third method is the vector aiming method. To use vector aiming, you will enter a value in to the worldspawn:
"_sun3_vector" "-32 32 -32"
What this does is tells the sun a direction to point relative to the map's origin (0 0 0). The angle from the origin to the defined vector value is -32x 32y -32z or 32 units left, 32 units up on the horizontal plane and 32 units down on the vertical plane. The resulting angle SHOULD BE the same as a yaw 135 and pitch -45. The angles derived from the vector, however, differs slightly from the actual angle.
We'll make the sun brightness 800, and its color green.
"_sun3_light" "800" "_sun3_color" "0 1 0"Well, that's it. You know how to make a sun in each of the three different methods.
Now that you know how to create your suns, let's mess with the diffuse settings. Extract ex02b.bsp into your baseq2/maps/ director from the zip file. Start up Quake2, load the map, and observe the difference between the shadows coming through the windows.
 By default, the shadows cast by the sun are
blocky. The stepped appearance is an unsightly sideffect of the
directional nature of the sun. To overcome this, ArghRad offers the
"_sun_diffuse" key. This allows you to set a gradiated intermediate
value to soften the contrast between the sunlight and the shadow.
By default, the shadows cast by the sun are
blocky. The stepped appearance is an unsightly sideffect of the
directional nature of the sun. To overcome this, ArghRad offers the
"_sun_diffuse" key. This allows you to set a gradiated intermediate
value to soften the contrast between the sunlight and the shadow.
To use _sun_diffuse, set a value that is between your _sun_ambient brightness and your _sun_light brightness. If you find that the rate at which your _sun_diffuse fades is unsatisfactory, you can set the _sun_difwait or _sun_diffade values to increase or decrease the rate at which it fades. See the example map ex02b.map for an example of this.
 As you can see, with the
_sun_diffuse value defined, the shadow is much smoother and more
realistic. There are three different brightness values apparent. The
center of the lit area represents the _sun_light intensity, while the
darkest area represents the areas lit by the _sun_ambient light. The
semi-dark areas between the highlight and shadow is the _sun_diffuse
light.
As you can see, with the
_sun_diffuse value defined, the shadow is much smoother and more
realistic. There are three different brightness values apparent. The
center of the lit area represents the _sun_light intensity, while the
darkest area represents the areas lit by the _sun_ambient light. The
semi-dark areas between the highlight and shadow is the _sun_diffuse
light.
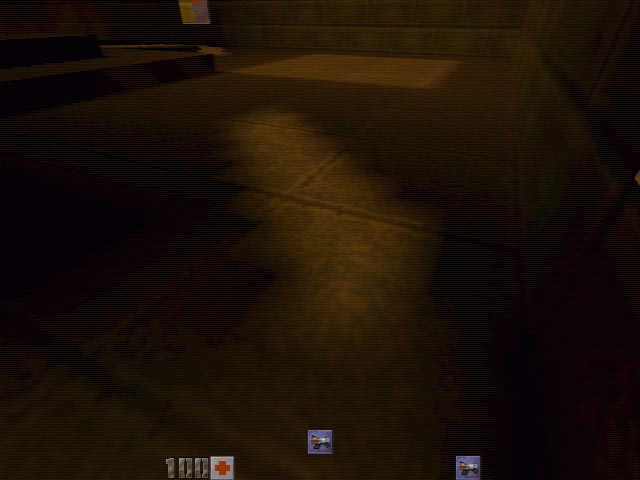
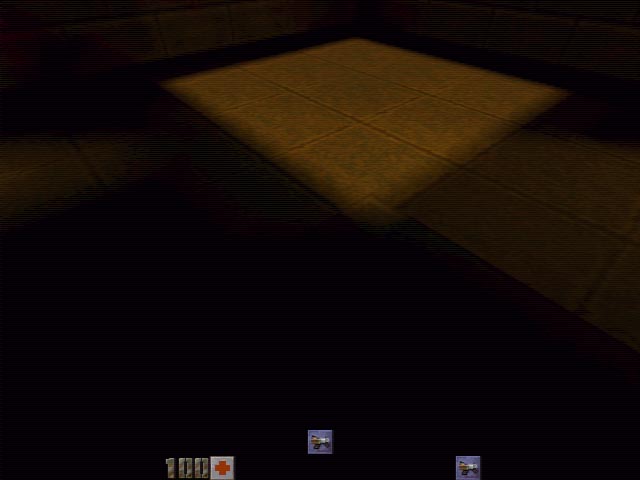 To better demonstrate the difference between
the light levels, the four squares of light in the example map have
triggers to let you know the diffade value of light shining in each
square. The square in the image to the right has no diffade value set.
You can see that there is no diffusion of light between the dark and
light areas.
To better demonstrate the difference between
the light levels, the four squares of light in the example map have
triggers to let you know the diffade value of light shining in each
square. The square in the image to the right has no diffade value set.
You can see that there is no diffusion of light between the dark and
light areas.
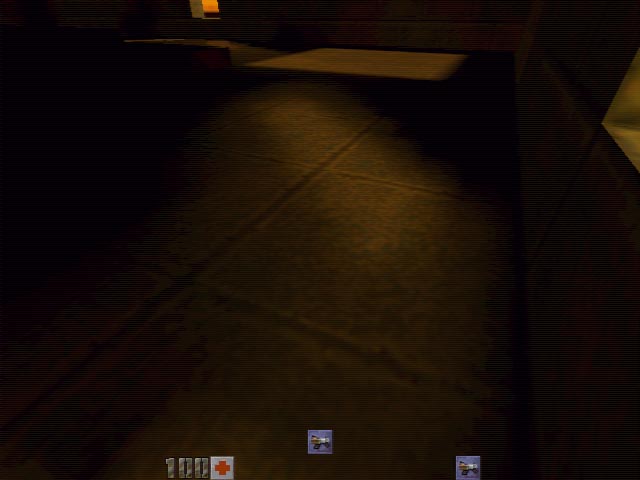
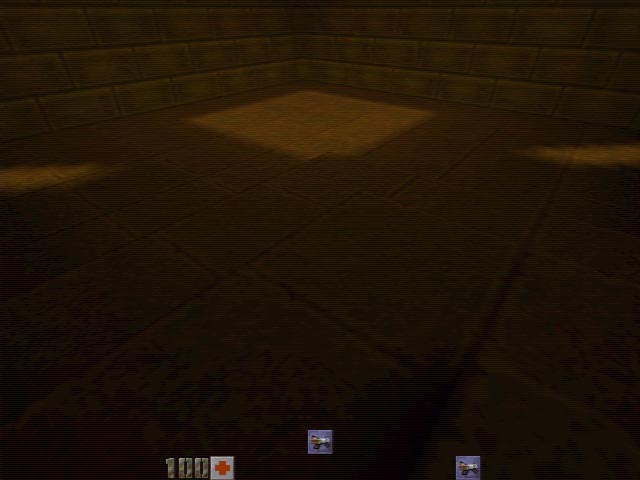 Although it is difficult to tell
in the image to the left, if a _sun_diffade value is set to a value
above 1, the rate at which the _sun_diffuse light fades dramatically
decreases. In this example image, the _sun_diffuse light takes up the
entire corner.
Although it is difficult to tell
in the image to the left, if a _sun_diffade value is set to a value
above 1, the rate at which the _sun_diffuse light fades dramatically
decreases. In this example image, the _sun_diffuse light takes up the
entire corner.